Annual Report
Docs + Word6 pages
FeaturedFree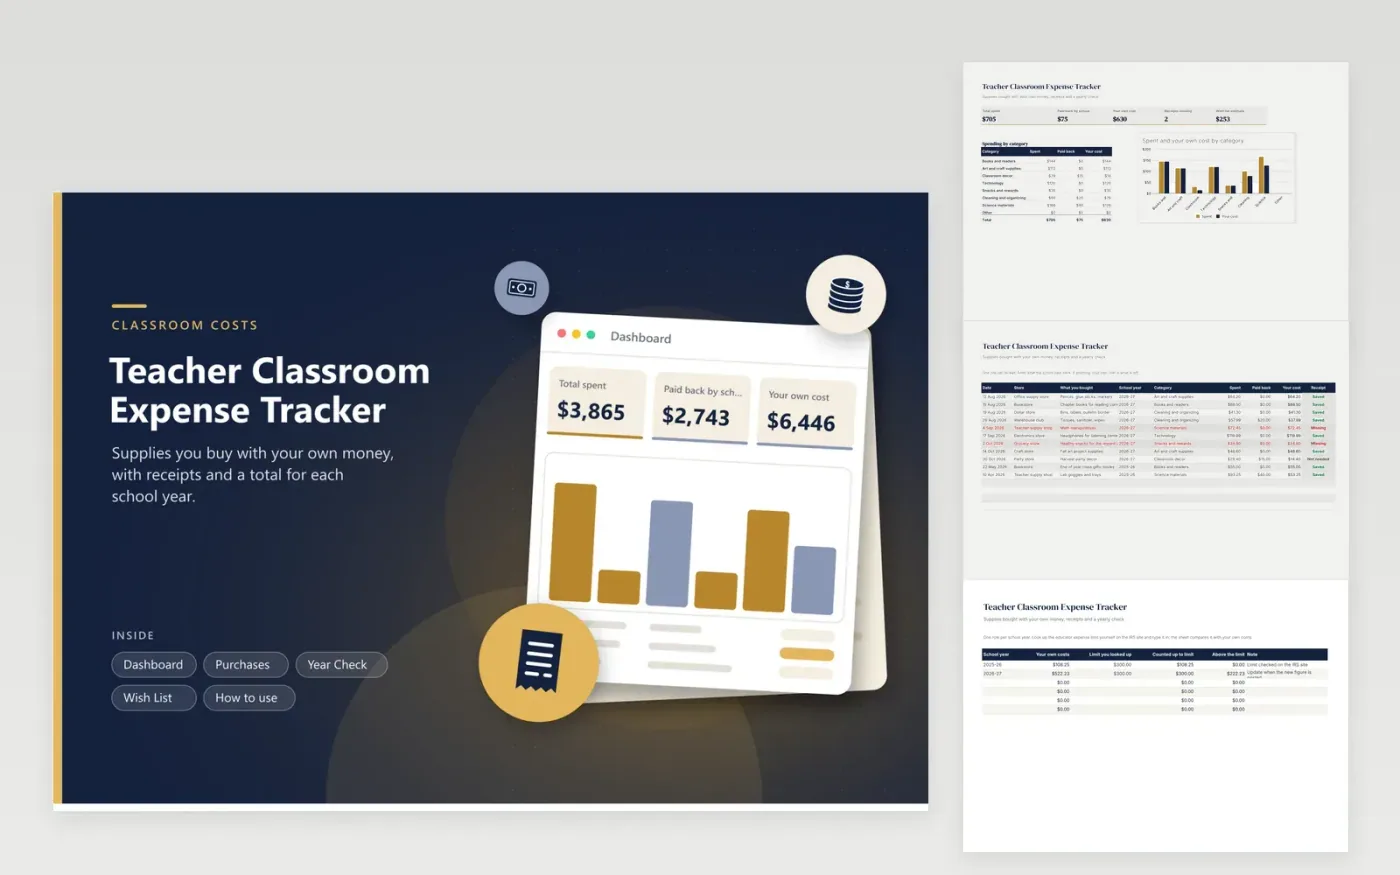
Teachers use this classroom expense tracker to keep one list of everything they buy for the room. The Purchases tab holds the store, what you bought, the school year, a category, the amount spent, any amount the school paid back and a receipt flag. The Year Check tab compares your own costs with a limit that you type in after checking the IRS site. The Wish List tab keeps planned purchases with a priority. The Dashboard sums spending for each category.
Add a row when you leave the store and photograph the receipt before it fades. Use the paid back column whenever the school, a grant or a parent group reimburses you, so your own cost stays accurate. Look up the current educator limit yourself and update the Year Check each fall. Ask a tax professional whether the purchases qualify, since rules differ by situation.
Click Make a copy in Google Sheets, then confirm on the Google page. The copy is saved to your own Google Drive.
Start on the Purchases tab: replace the sample rows with your own.
Keep the formula columns as they are; they fill in as you type.
Read the How to use tab for tips. For Excel, download the .xlsx file instead.
Keep receipts or card statements showing the store, date and amount, plus a brief note about the purpose of each item. A list like the Purchases tab with saved receipts gives a preparer what they need.
Type the reimbursement in the Paid back column on the same row. Your own cost is then the amount spent minus what was paid back, so only your out-of-pocket total is compared with the limit.
Look on the IRS website for the figure for the tax year, and type it in the Limit column on Year Check. The limit changes over time, so this sheet leaves it for you to enter.
Docs + Word6 pages
FeaturedFree
Excel
FeaturedFree
Sheets + Excel6 tabs
Free